A Beginner’s Guide to Calix Router Setup!
When it comes to reliable internet performance, the Calix wifi router is one of the popular choices for many. It is a popular and feature-rich networking device, ideal for home and small businesses. If you are new to the Calix router, then you must know the accurate Calix Router Setup process to make the most out of it. In this guide, we will elaborate on the step-by-step configuration of the Calix wifi router. Before that, let’s take a look at why to choose this device and the pre-setup requirements.
Why Choose a Calix Router?
To begin the Calix router configuration, let’s understand why a Calix router is worth the investment. Known for robust performance, security, and easy integration, Calix routers offer:
- Stable and high-speed internet
- Seamless mesh networking support
- Advanced parental controls
- User-friendly mobile app for configuration
Moreover, the router adapts well to various network environments, making it a smart choice for most users.
What You’ll Need for the Calix Router Setup
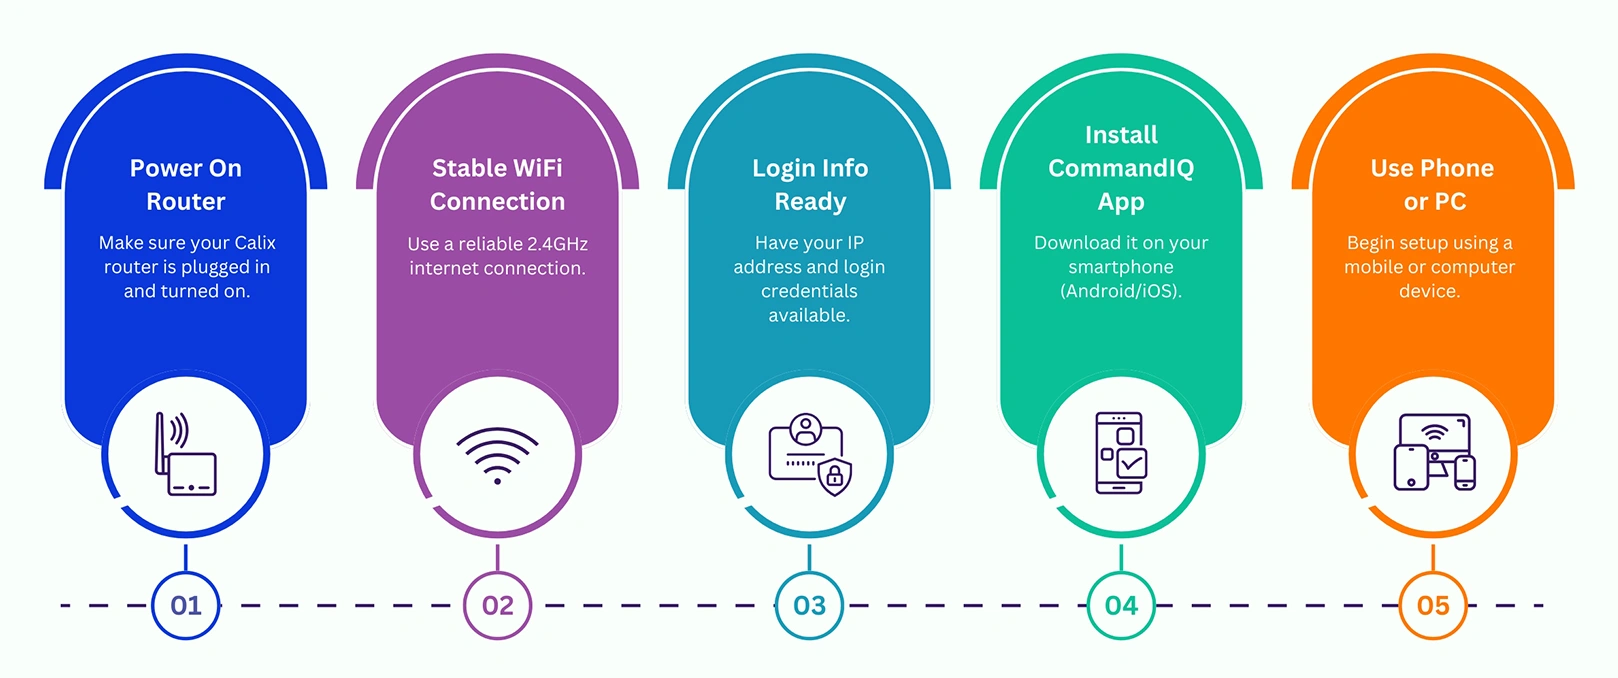
To begin the Calix Router Setup, make sure you have the following:
- A Calix router (model-specific instructions may vary slightly)
- Reliable internet connection (2.4 GHz)
- An accurate IP address/ Login details
- A smartphone or computer
- The Calix CommandIQ app (available on Android and iOS)
- Ethernet cable
- A Compatible Power adapter
Once you have these items ready, you can proceed to the Calix Router Setup phase.
How to Setup Calix WiFi Router in Easy Steps?
Moreover, setting up your Calix wiif router may seem complicated at first. But it is a straightforward process. With a few simple tips, you can get your network running smoothly within minutes.
Generally, there are two ways to set up your router, i.e., the web GUI and the Command IQ app method. So, here is how to setup calix wifi router in the most preferred web GUI method:
- Firstly, power on your networking device.
- Now, connect your computer to the Calix wifi router.

- Then, open any web browser and navigate to the 192.168.1.1 IP address in the URL bar.
- Further, log in to your router and access the router’s admin panel.
- After that, you will reach the admin portal of your router.
- Now, navigate to the router settings and visit the WiFi>Primary Network.
- After that, enter your wifi name and password in the respective fields and tap “Apply.
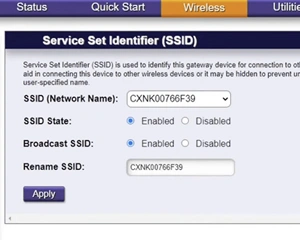
- For some router models, you need to visit Wireless>2.4 Network>SSID Setup/Security.
- Here, you can customize your wifi settings as per your choice.
- Navigate to the WPS section to configure your network settings accordingly.
- Similarly, you can access and configure the Advanced Network Settings on your wifi router.
- Finally, your Calix router wifi setup is finished.
Bottom Line
In conclusion, knowing how to setup Calix WiFi router properly ensures a reliable and high-speed internet experience at home. With the right tools and a few simple steps, as given above, you can complete the Calix router setup in minutes. Whether you’re streaming, gaming, or working remotely, a well-configured Calix router is key to staying connected.